Tailscale is a mesh VPN that uses WireGuard to create end-to-end encrypted tunnels between all your devices. Tailscale helps your devices find each other, exchange keys, and handle all the NAT traversal and firewall trickery behind the scenes. Most of the time it creates a direct connection between devices. If the network makes that impossible, it uses a relay in the cloud so the connection still works.
Before we continue, it helps to understand a few terms Tailscale uses. These definitions will make the setup steps and screenshots much clearer.
Tailnet:
A “tailnet” is your private network inside Tailscale. It belongs to your account, and only the people and devices you approve can join it. All devices in your tailnet can securely communicate with each other.
Devices in a Tailnet:
When you add a device to your tailnet, such as a desktop, Raspberry Pi, or Apple TV, Tailscale calls that device a “machine”.
You can see below that I added a couple of machines to my tailnet. Adding a machine is straightforward. Click Add device, then choose whether you are adding a Linux server or a client device. Follow the instructions for your platform. After installing, sign in with your Tailscale account. Once you do, that machine is added to your tailnet.
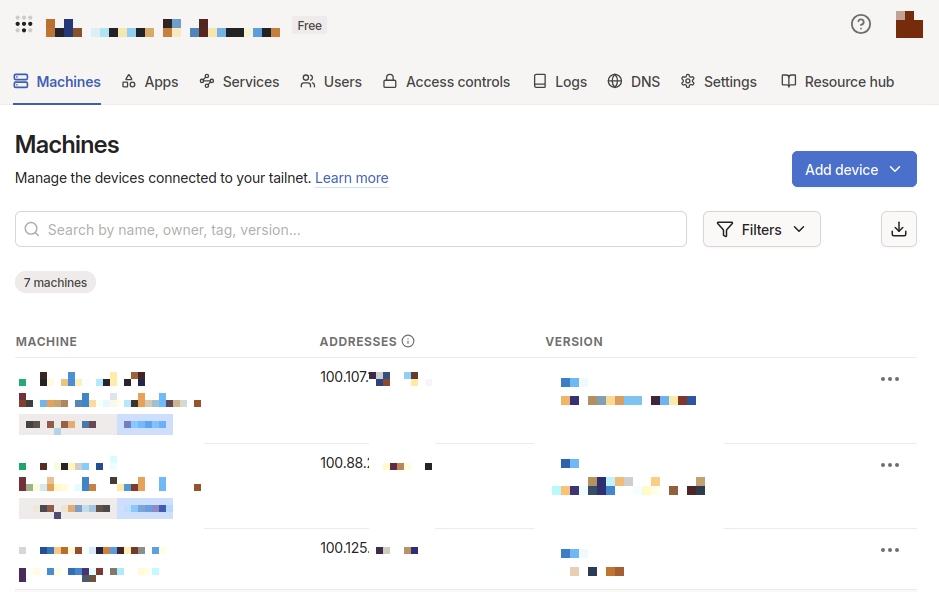
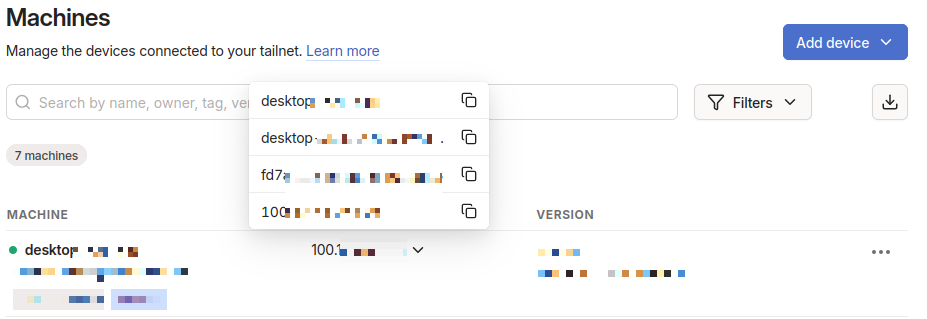
On the Machines page, you can expand each machine to see its address. Every machine in your tailnet gets a unique IPv4 address, a unique IPv6 address, and a DNS name. These addresses only work inside your tailnet. To reach another device, your own device must have the Tailscale client installed and be signed in to the same tailnet.
Here are a few examples of how you can reach services over your tailnet:
If you install Tailscale on a laptop that is running an SSH server, any device in your tailnet can connect to it using its Tailscale IP:
ssh user@100.89.251.22
If you add a server that hosts a website, you can open your browser on any device in the tailnet and go to its tailnet DNS name:
http://webserver.tailnet-name.ts.net
Leave a Reply